A broken car window is incredibly inconvenient and frustrating as it can make your car unroadworthy. Sometimes, however, all you need is a temporary fix to keep your car functional in order to get to work or a repair centre. Today we are going to discuss how to safely and temporarily cover a broken car window until you can find a permanent solution.
Why You Need to Cover a Broken Car Window
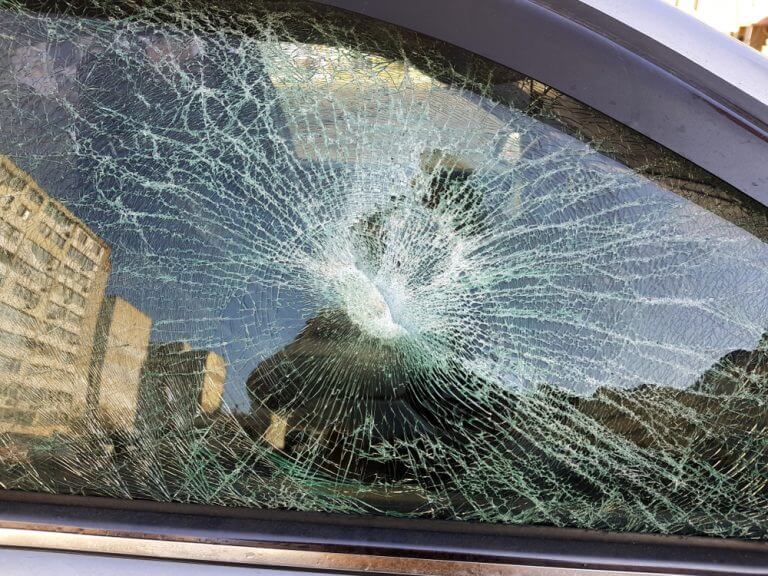
When a car window breaks it is essential that you get it fixed as soon as possible. A broken window not only puts you at risk of theft but in Victoria, a broken window counts as unroadworthy. If you are pulled over by the police, you will likely be given a defective vehicle sticker. A broken car window is also dangerous. You could easily cut yourself on sharp shards of glass if you don’t clean thoroughly, or if the window is left jagged. Further, you need windows to protect the inside of the car, your passengers, and yourself from the weather – especially in winter! Finally, a broken window is just ugly, even with a temporary fix applied. It’s just not a good look to drive around with a dodgy window.
Options for Temporarily Covering a Broken Car Window
Thankfully, there are several options for temporarily covering a broken window. The most practical choices a plastic sheet, plastic bag, and/or clear packing tape. Essentially, you just need a temporary window cover that is weather-proof and, preferably, transparent. This is why plastic is such a perfect option as a temporary window cover. Cardboard is an option in good weather, but it will start to disintegrate in the rain. This could hinder your vision – and driving – making it even more dangerous to be on the road.
How to Apply the Temporary Car Window Cover
Below, we will go through the steps on temporarily covering a broken car window.
What You Will Need:
- Work gloves
- A hammer
- Vacuum
- A microfiber cloth
- Tape measure
- Scissors
- Duct tape
- Masking tape
- Paper bag
- Garbage bag (high-density for the best result)
1: Remove All Debris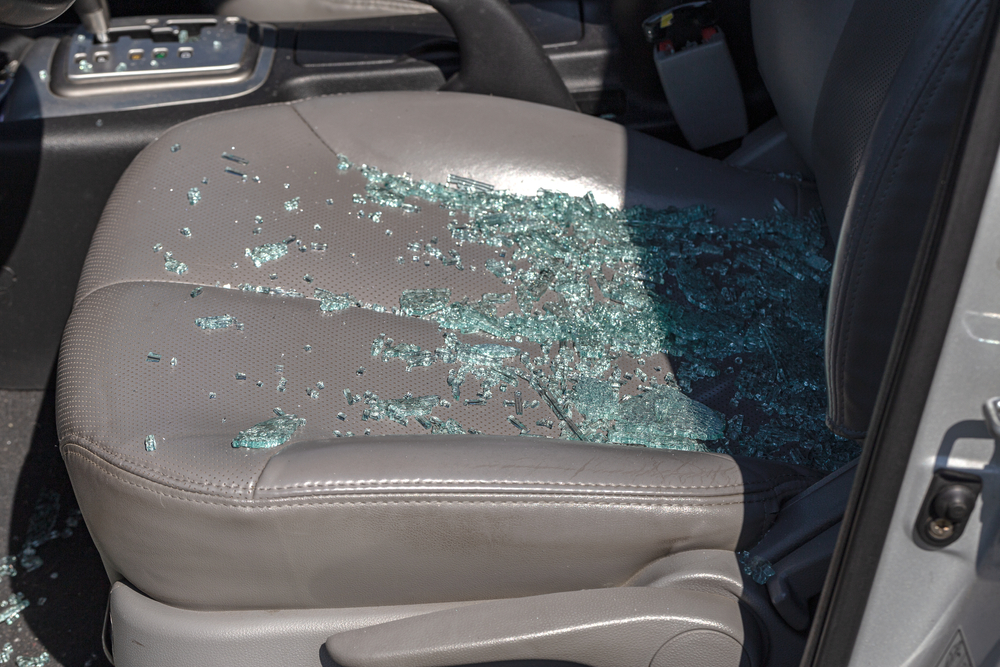
To begin, you will need to remove any glass shards and debris from your car to ensure it’s safe to drive. Make sure you wear gloves while cleaning to protect yourself from cuts and glass splinters. Use a hammer to carefully dislodge any glass pieces that are still sticking out of the window. Tap firmly but gently, so you don’t shatter the glass into additional pieces. Vacuum the inside of the car, as well, to get rid of any stray bits of glass. Dispose of the glass in the paper bag, sealing it with tape before throwing out the bag.
2: Clean the Window
Before we apply anything, it is important to wipe all around the window and door with a damp, microfiber cloth. This removes any residual dust and glass so that your window cover can stick properly to the car. The cover will need to seal properly so rain can’t come in at the edges. It’s also important to allow the door to completely dry before applying the cover.
3: Prepare Your Plastic and Tape
Carefully measure the length and width of the car window with a measuring tape. Then unfold the plastic garbage bag and cut a rectangle out to fit your car window, with an allowance of half an inch all around. It is much easier to cut the plastic bag indoors. If you have to do it outside, use rocks, bricks, or other weights to keep the bag from blowing away. You should now be able to pull the plastic taut and tape it to the car without there being an excessive amount of extra plastic around the edges. Excess plastic can be tricky to trim off once the plastic is taped down. Cut up 8-10 pieces of masking tape, all about 1-2 inches long.
4: Taping Down the Plastic Bag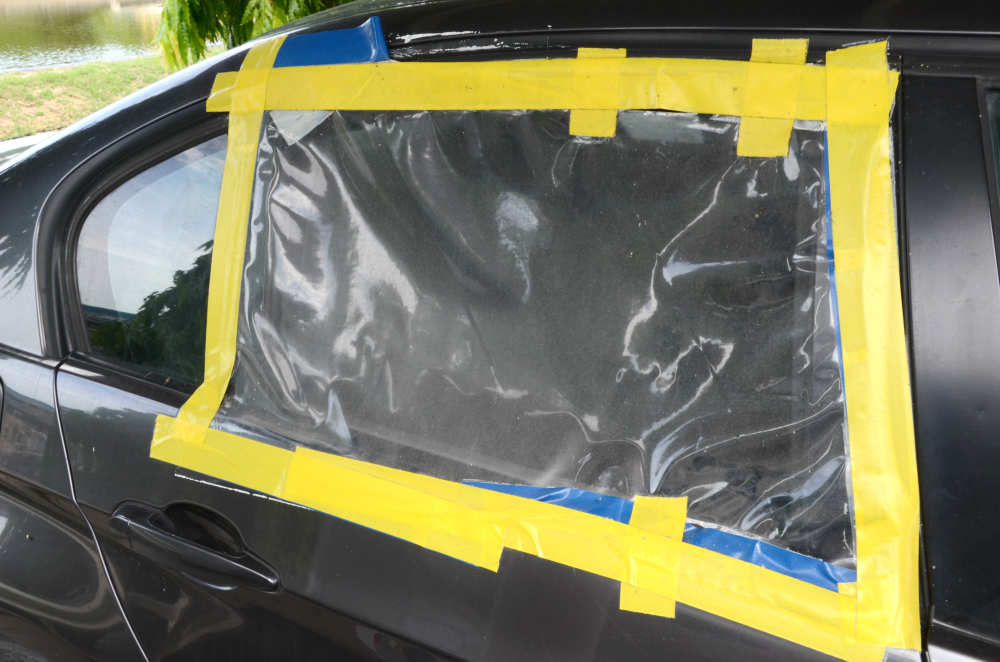
You will need to work with the car door open in order to attach the plastic garbage bag to the inside of the car. Carefully align the plastic to the top corner of the window frame and stick down a piece of masking tape to the bag and window frame. You should place the tape underneath the rubber window seal, not over the top of it. Now pull the plastic taut and tape down the top outer corner with a piece of masking tape, once again ensuring to stick the tape beneath the rubber window seal, not over it. Add 1-2 piece of masking tape along the top of the window to help further secure the plastic.
Pull the plastic taut again and tape it to the bottom inner corner of the window frame with your masking tape. Then pull taut one last time in order to tape the plastic bag to the bottom outer corner of the window frame. Use your tape to stick down the sides and bottom of the window to further secure the plastic bag. If masking tape is not sticking to the plastic bottom of the window, you made need to use duct tape. However, it is important that you don’t use duct tape for the entire cover as it will damage your car paint when it is peeled off the frame.
5: Creating the Seal
Cut 6-8 long pieces of masking tape, enough to entirely cover the perimeter of the window. Stick the tape down around the plastic to secure the first layer of tape, as well as creating a seal to keep air and water out of the car. Again, duct tape might be needed for the bottom seal if the masking tape won’t stay stuck down to the soft rubber of the door.
Have Your Broken Car Window Repaired
It is important to have your car window repaired as soon as possible. Not only is broken autoglass a safety and theft issue, it also makes your car unroadworthy. Further, safety functions, like airbags, may not work properly with a broken window, putting you and your passengers at further risk if there’s an accident. Quality Fit Windscreens offers emergency repairs throughout Melbourne. Our expert repair technicians can come to you, at your home or office, to repair or replace your damaged or broken window and windscreen glass. This allows you to get back on the road as soon as safely possible. If you have a broken car window, contact us or call us now!